Introduction Last updated: October 24 2022
Welcome to Logixsaas, an online cloud based logistic application which helps you manage your organization’s order fulfillment with ease. This page will guide you through the process of creating an account, setting up your organization and also get you acquainted with the app.
New Signup:
If you’re new to Logixsaas, you’ll need to first sign up for our free 10-day trial period during which you can test out our product and use all the features included in the Professional plan of Logixsaas. You can upgrade to any of the paid plans during or after the trial period.
To sign up for Logixsaas:
Go to Website
Click the Free Trial button in the top right corner of the page.
Fill the form then click next

Choose a subdomain

Set up your organization details.
When you sign up for Logixsaas, you’ll be redirected to a page. Click go to app and you will be redirected to the organization details page where you’ll need to enter basic information about your business.
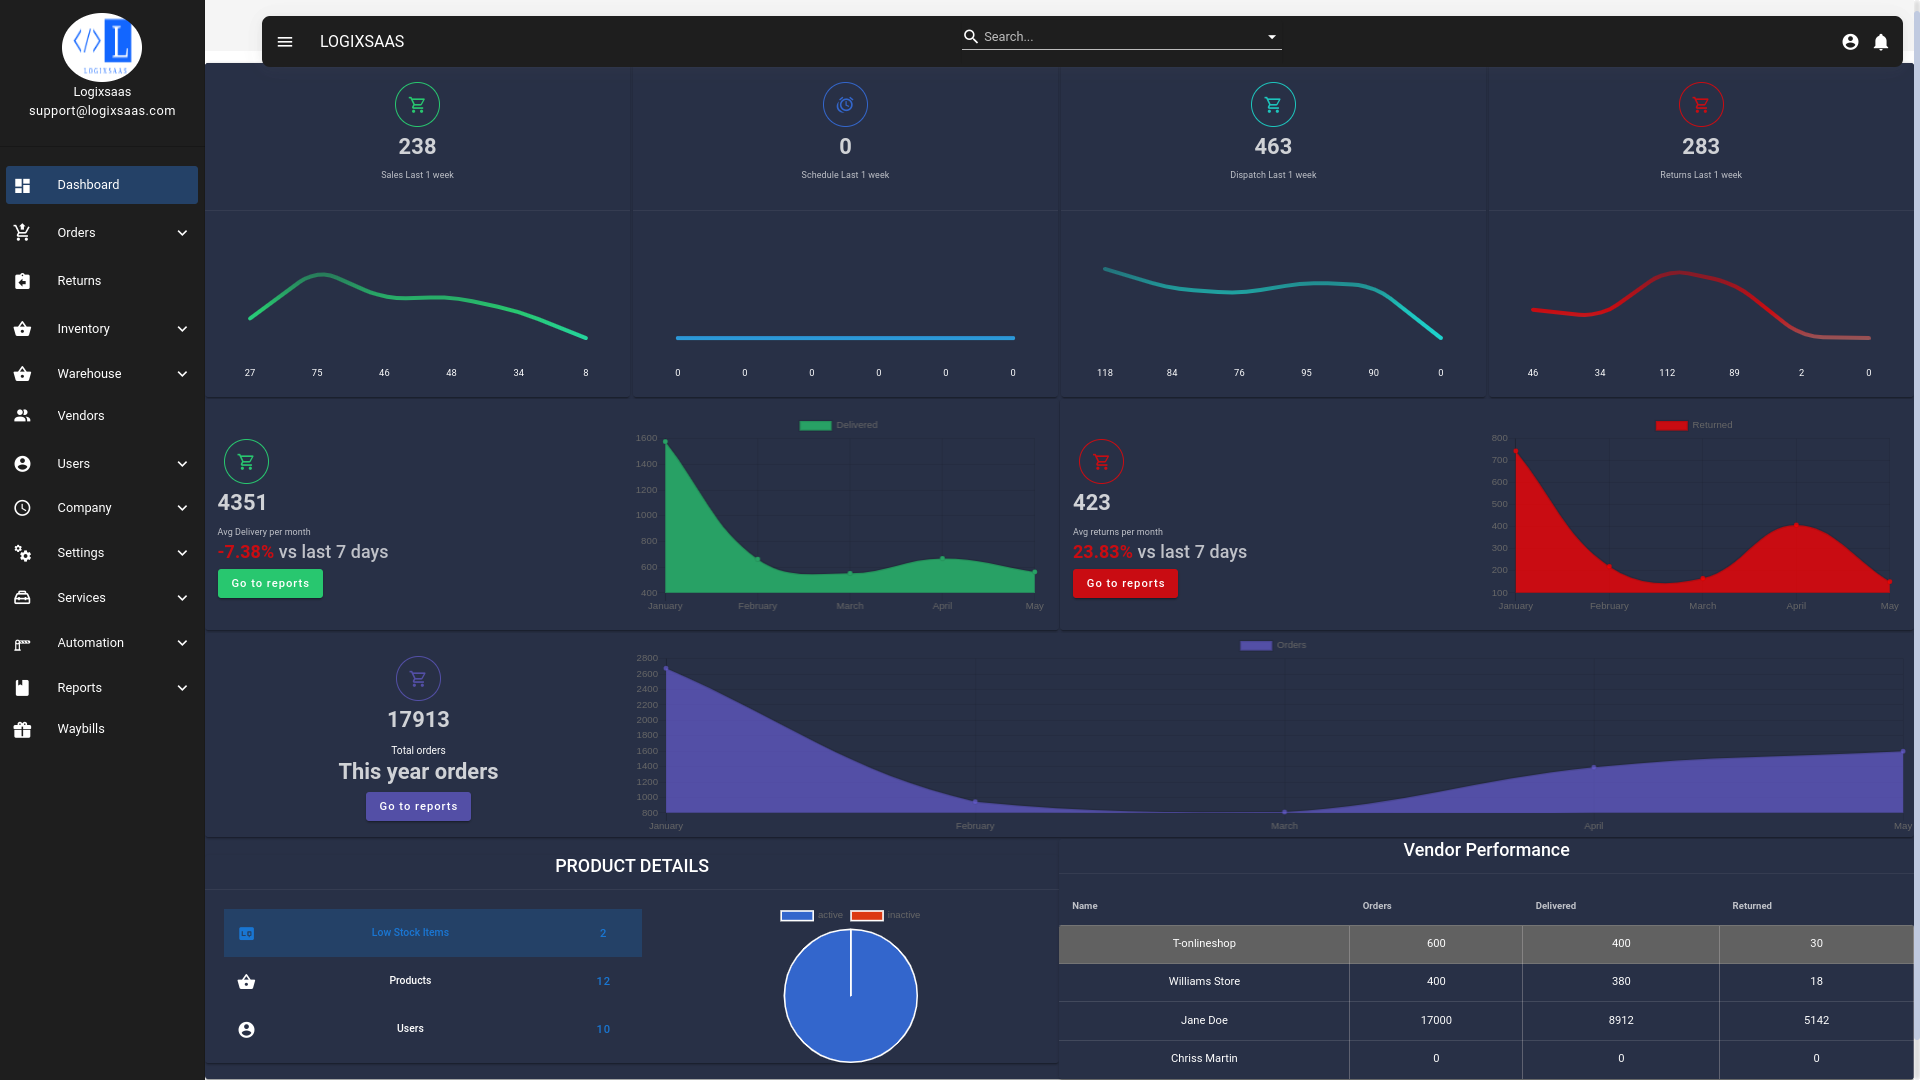
Dashboard
The Dashboard is the home page and it’s the first thing you’ll see when you log into your Logixsaas account. It gives you a clear picture of your company’s sales and stock summary i.e., the sales orders you have generated so far, top selling items, stock purchased from your vendor for the selected period and more.

Users & Roles
Bring in your workforce, delegate tasks, analyze and ensure that your objectives are met.
Logixsaas being an online application, allows multiple users to access it from any
location.
You as the admin, can do the following operations with Users.
Predefined User Roles
Users can access the modules based on their role. The following predefined roles are currently available:As for other roles, you can create your own user roles by defining access levels & permissions within Logixsaas.
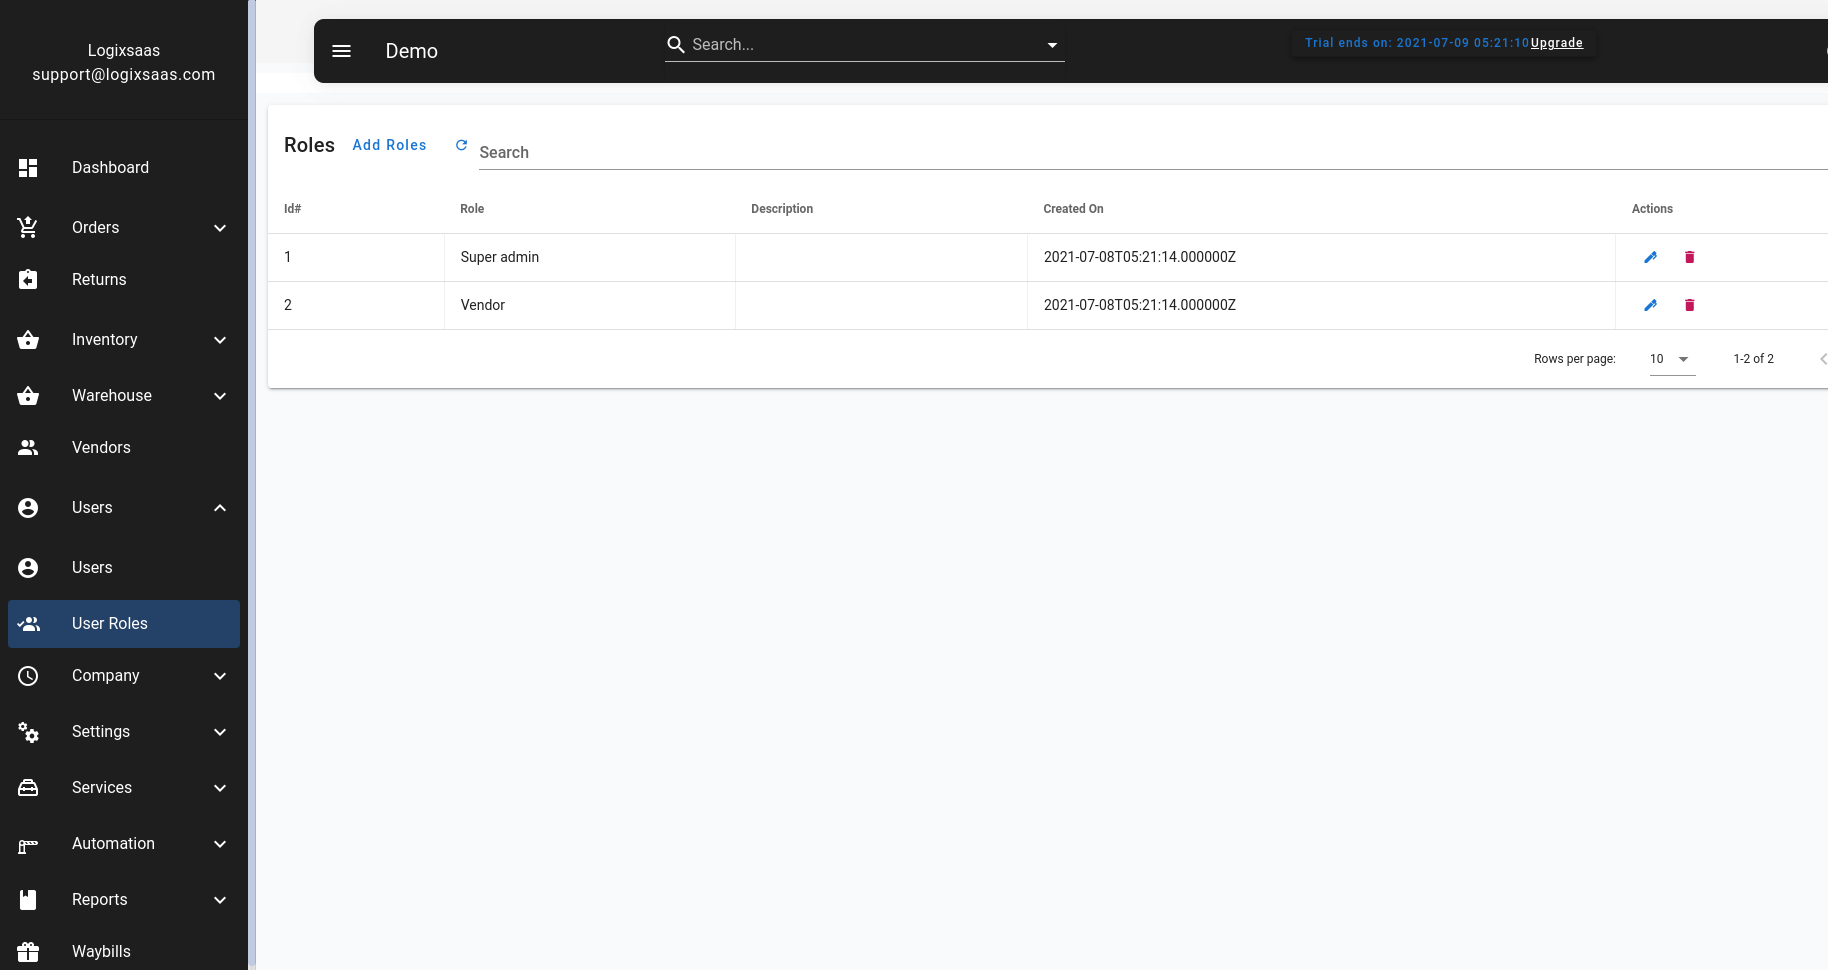
Creating User Roles
To create a custom user role,
- Click on the User&Roles from the side menu.
- Go to User Roles.
- Then click Add role
- Enter role name
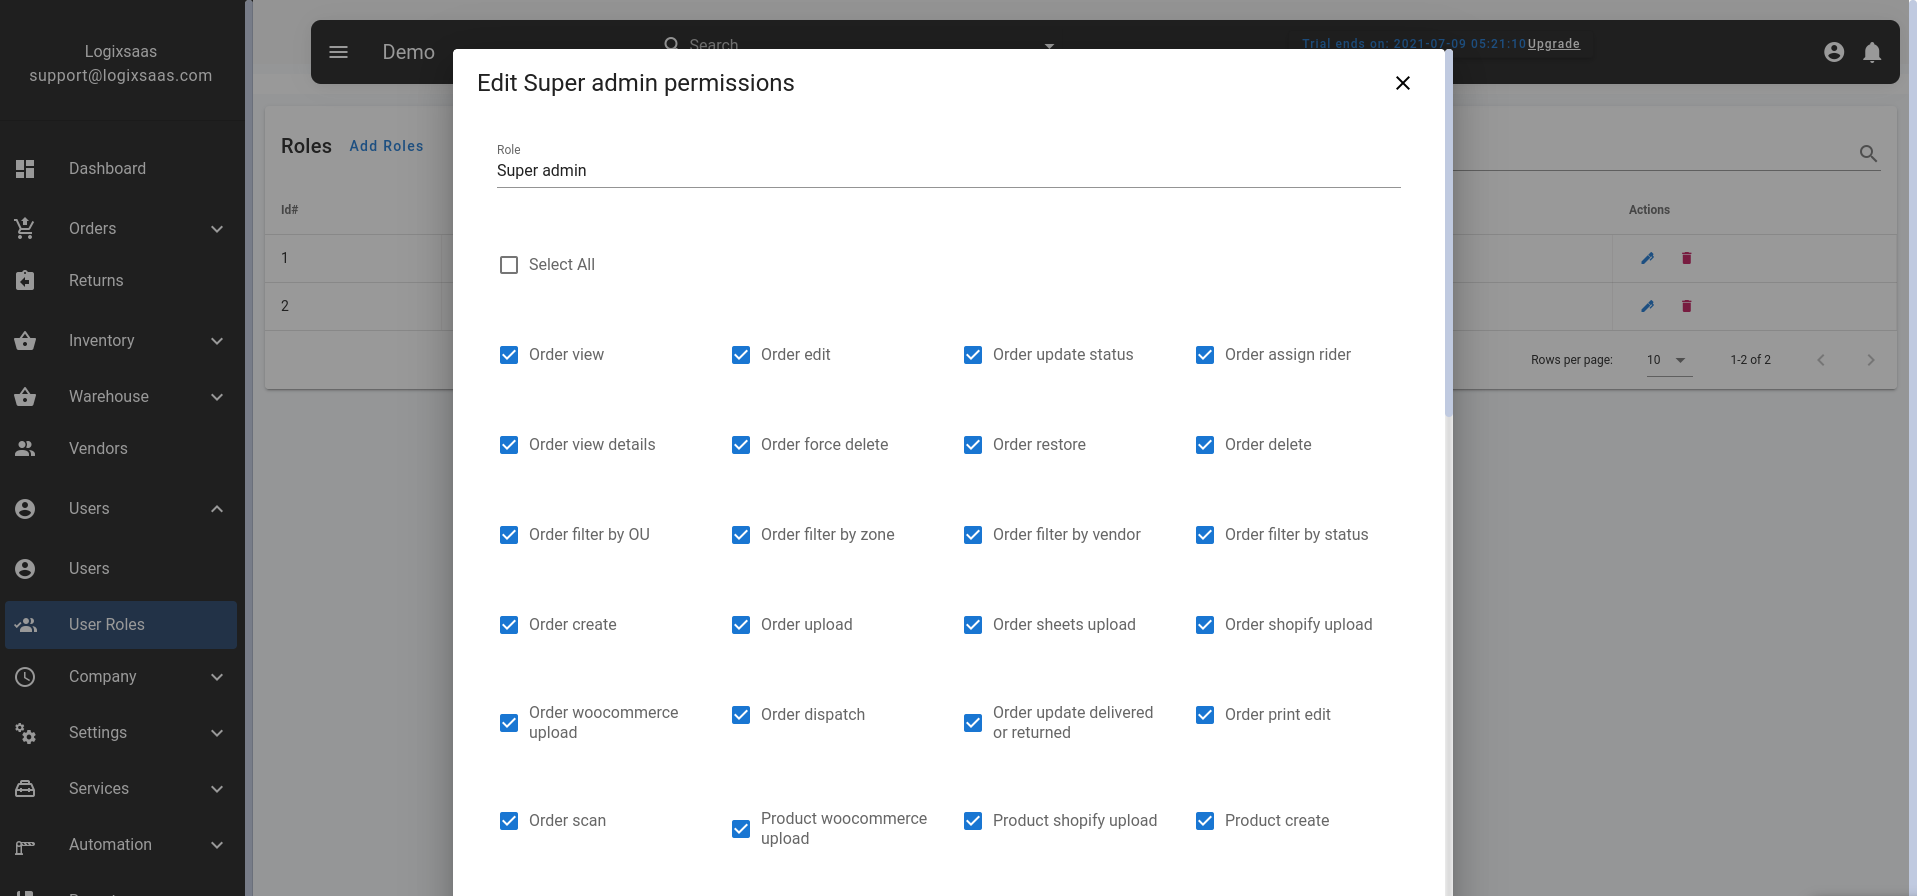
- Select permissions
- Finaly save
Assign permision to roles
Adding Users
To add new users:
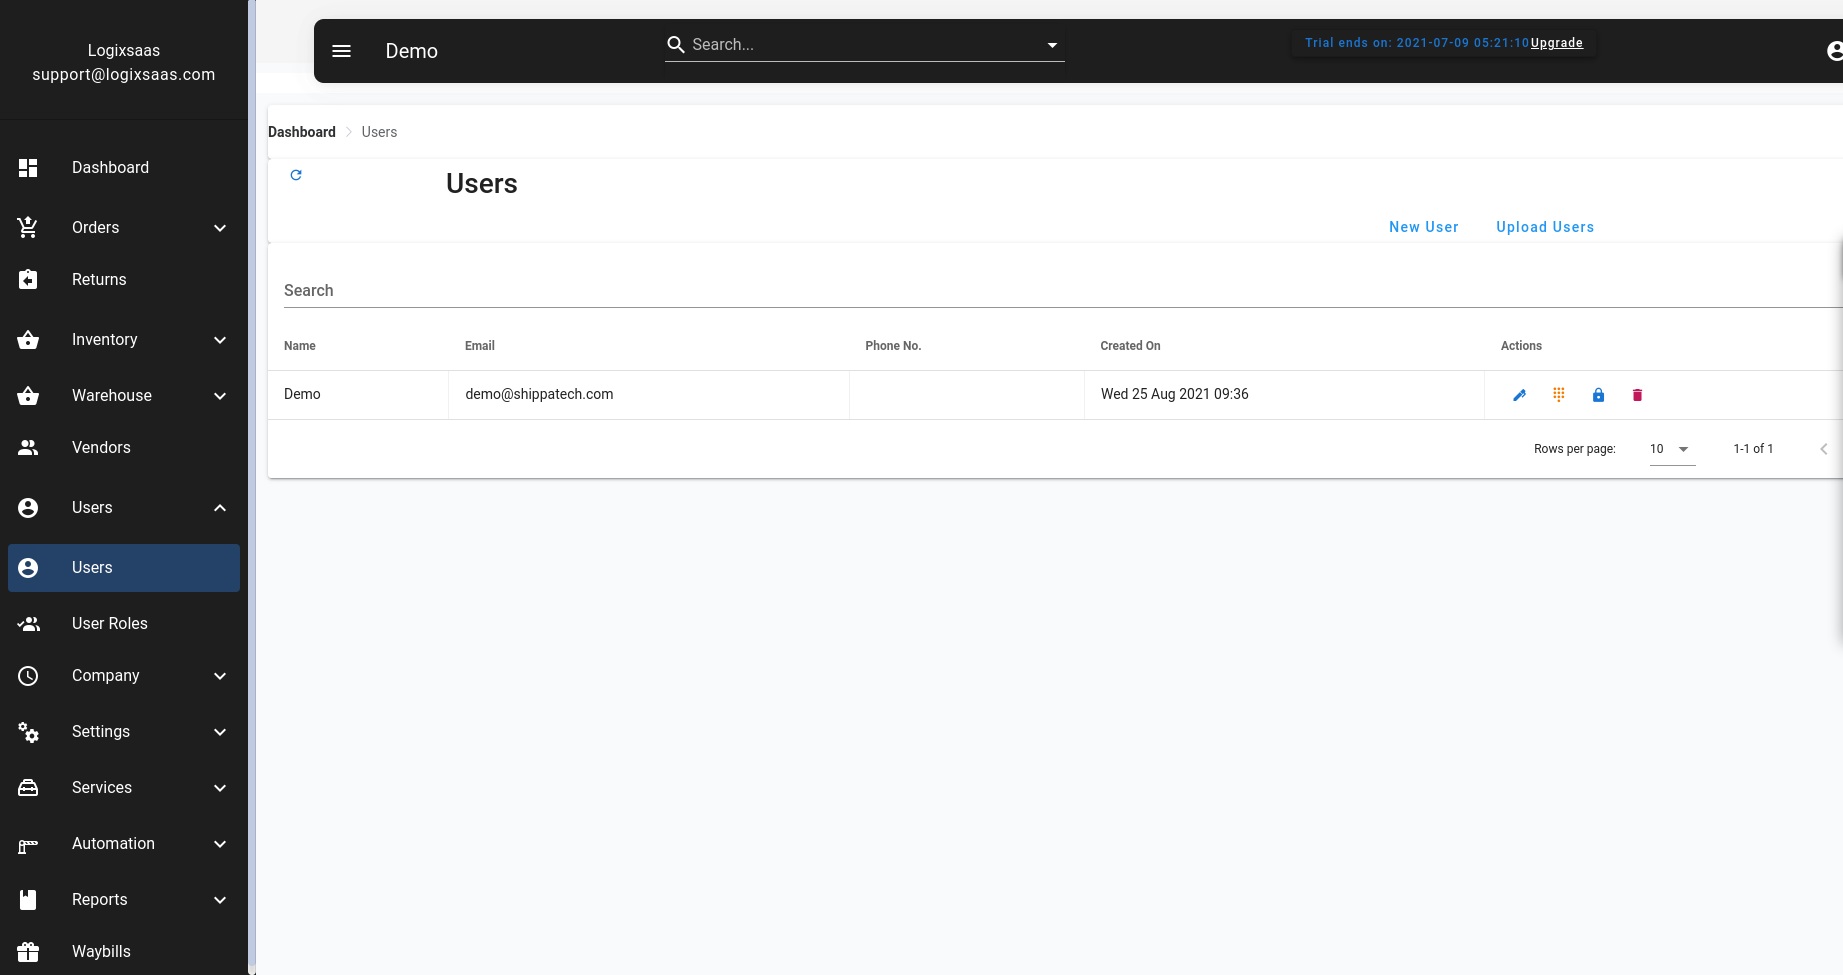
To create a custom user,
- Click on the User&Roles from the side menu.
- Go to User.
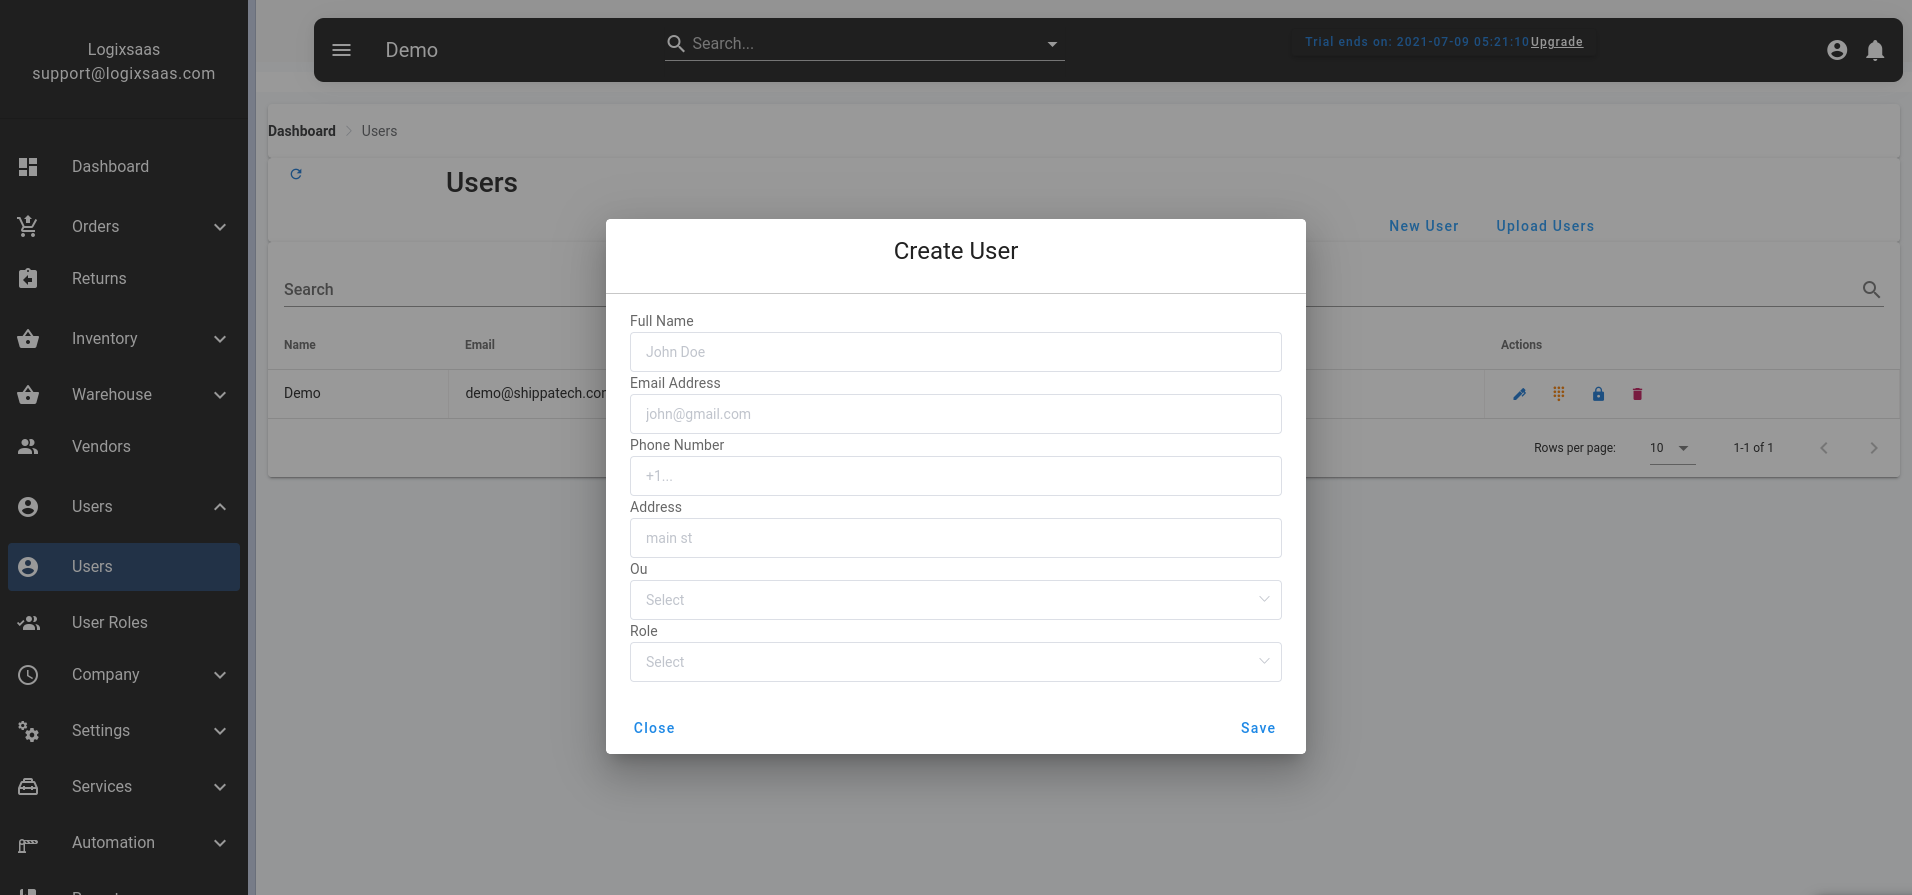
- Then click New user
- Enter user details
- Select a role
- Finaly save
Company
Under the company module, the Company profile module will allow you to maintain and update your company information.
Company Profile
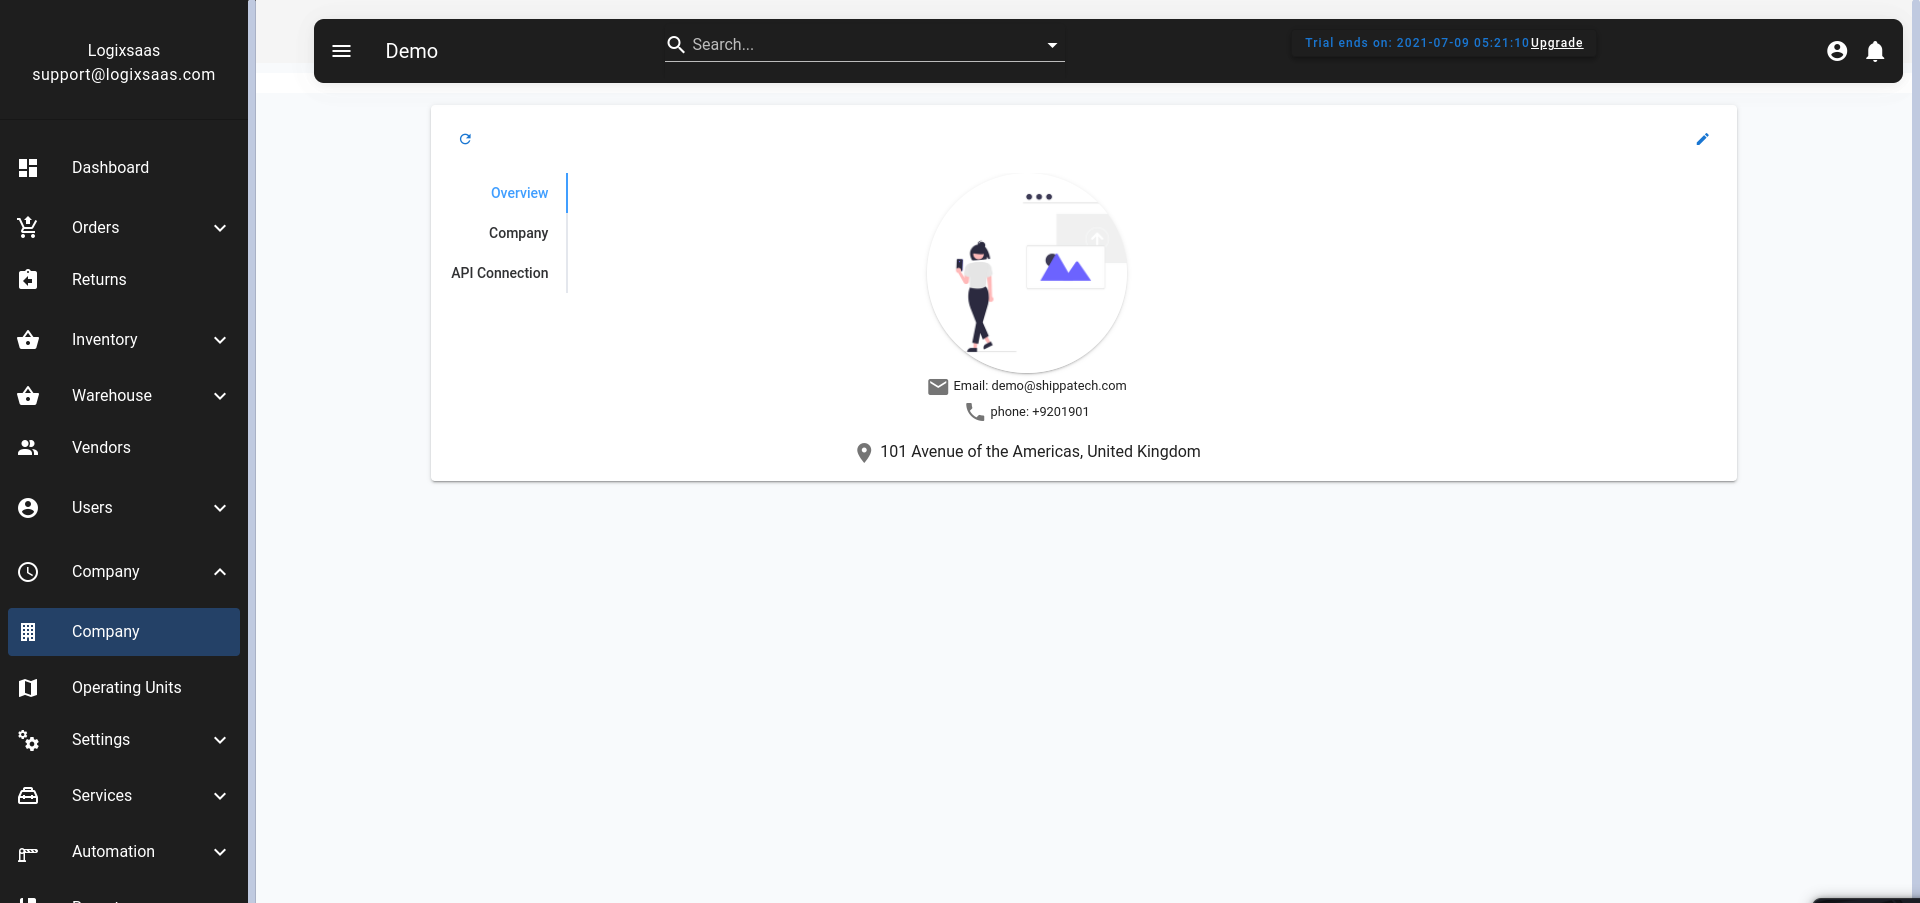
- Click on the Company the top side bar.
- Then company.
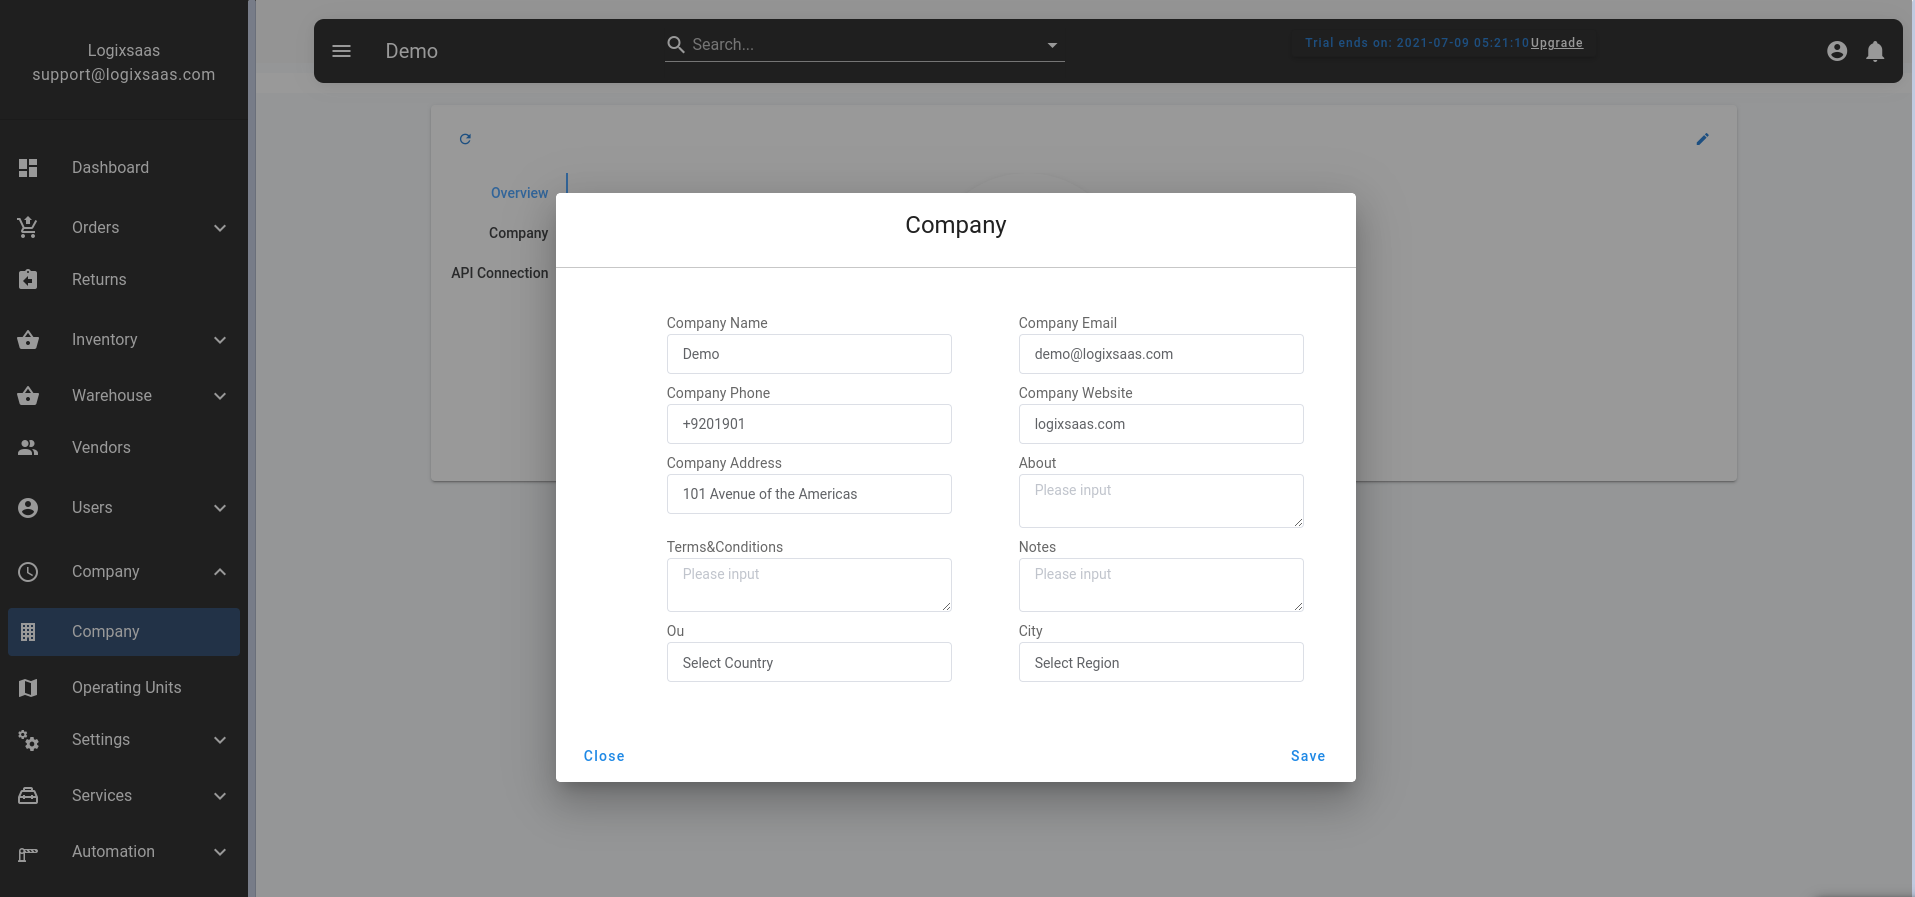
- To edit the company details, click on the pencil on the top right coner of the card.
- To edit the company logo, hover you cursor over the circular avatar, then click the image icon, then update the logo
APIs connection:
You can connect you application to different apis
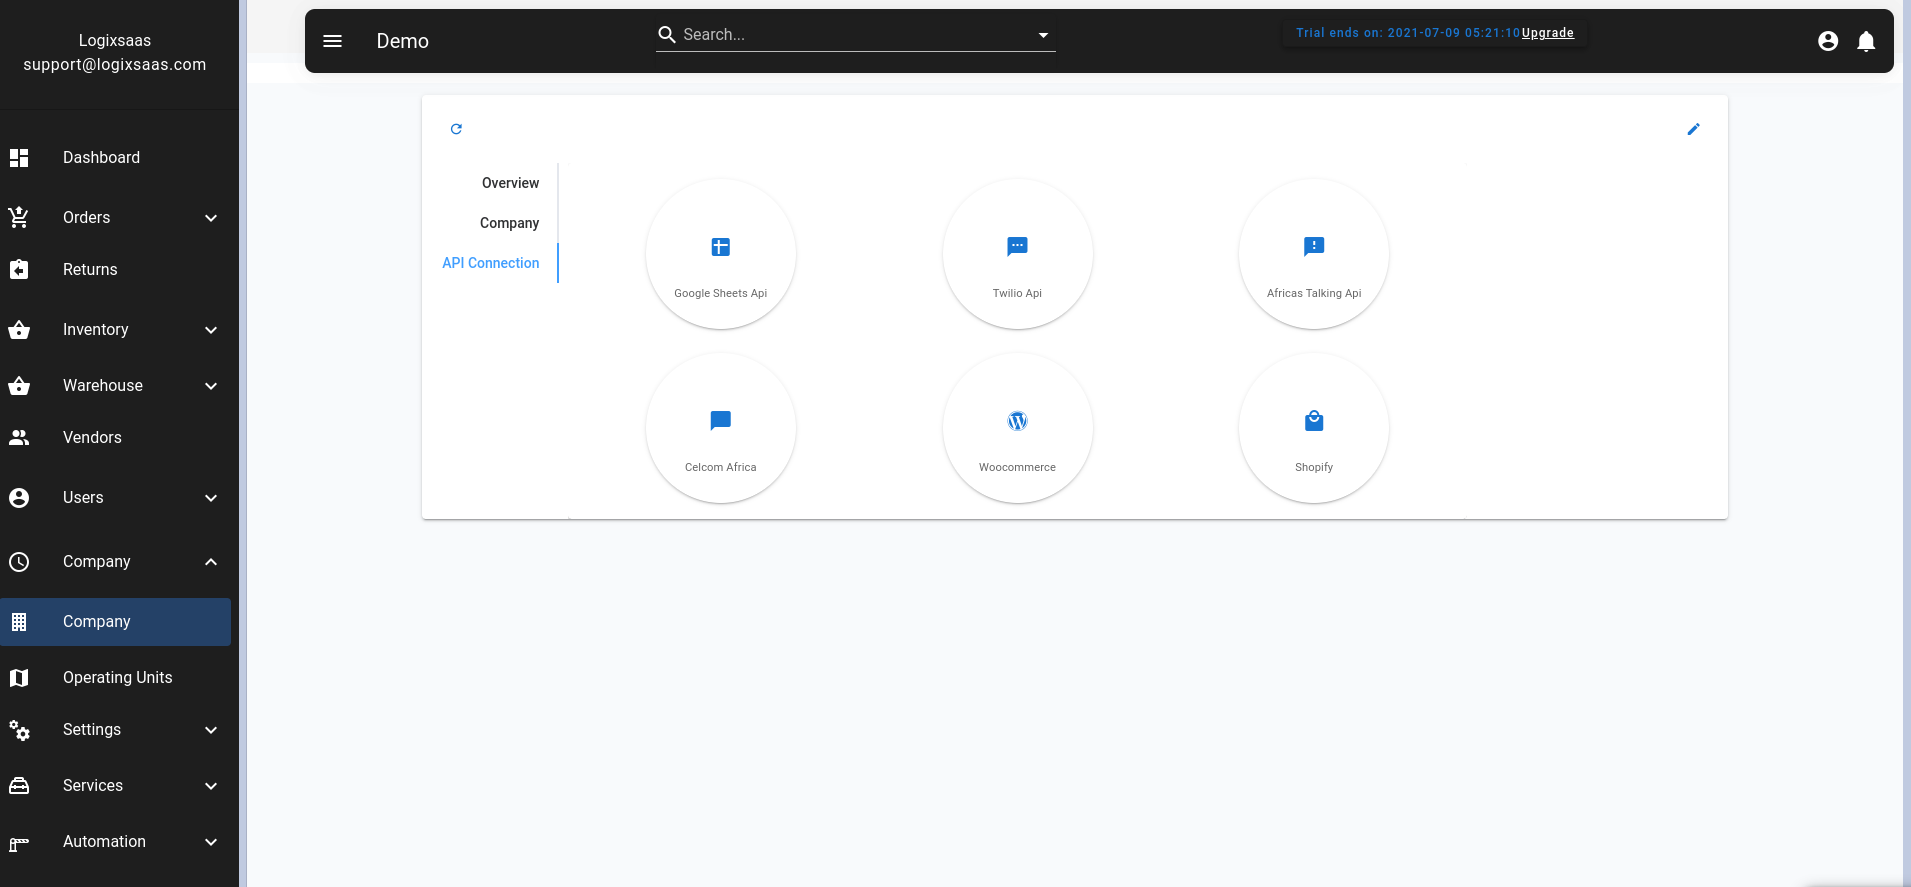
To connect:
- On the company card, click API connection.
- You will see different APIs to connect to
Google Sheets
You will need to generate a credential.json file ...
Woocommerce
You will need to generate a credential.json file ...
Shopify
You will need to generate a credential.json file ...
SMS Api
Twilio
You will need to generate a credential.json file ...
Africas Talking
You will need to generate a credential.json file ...
Setting
The Settings page is where you customize Logixsaas to match your business requirements. Here, you can add more information or update the existing information of your organization. To access Settings, click the settings.
Custom view:
This is where you customize how you want you orders displayed.
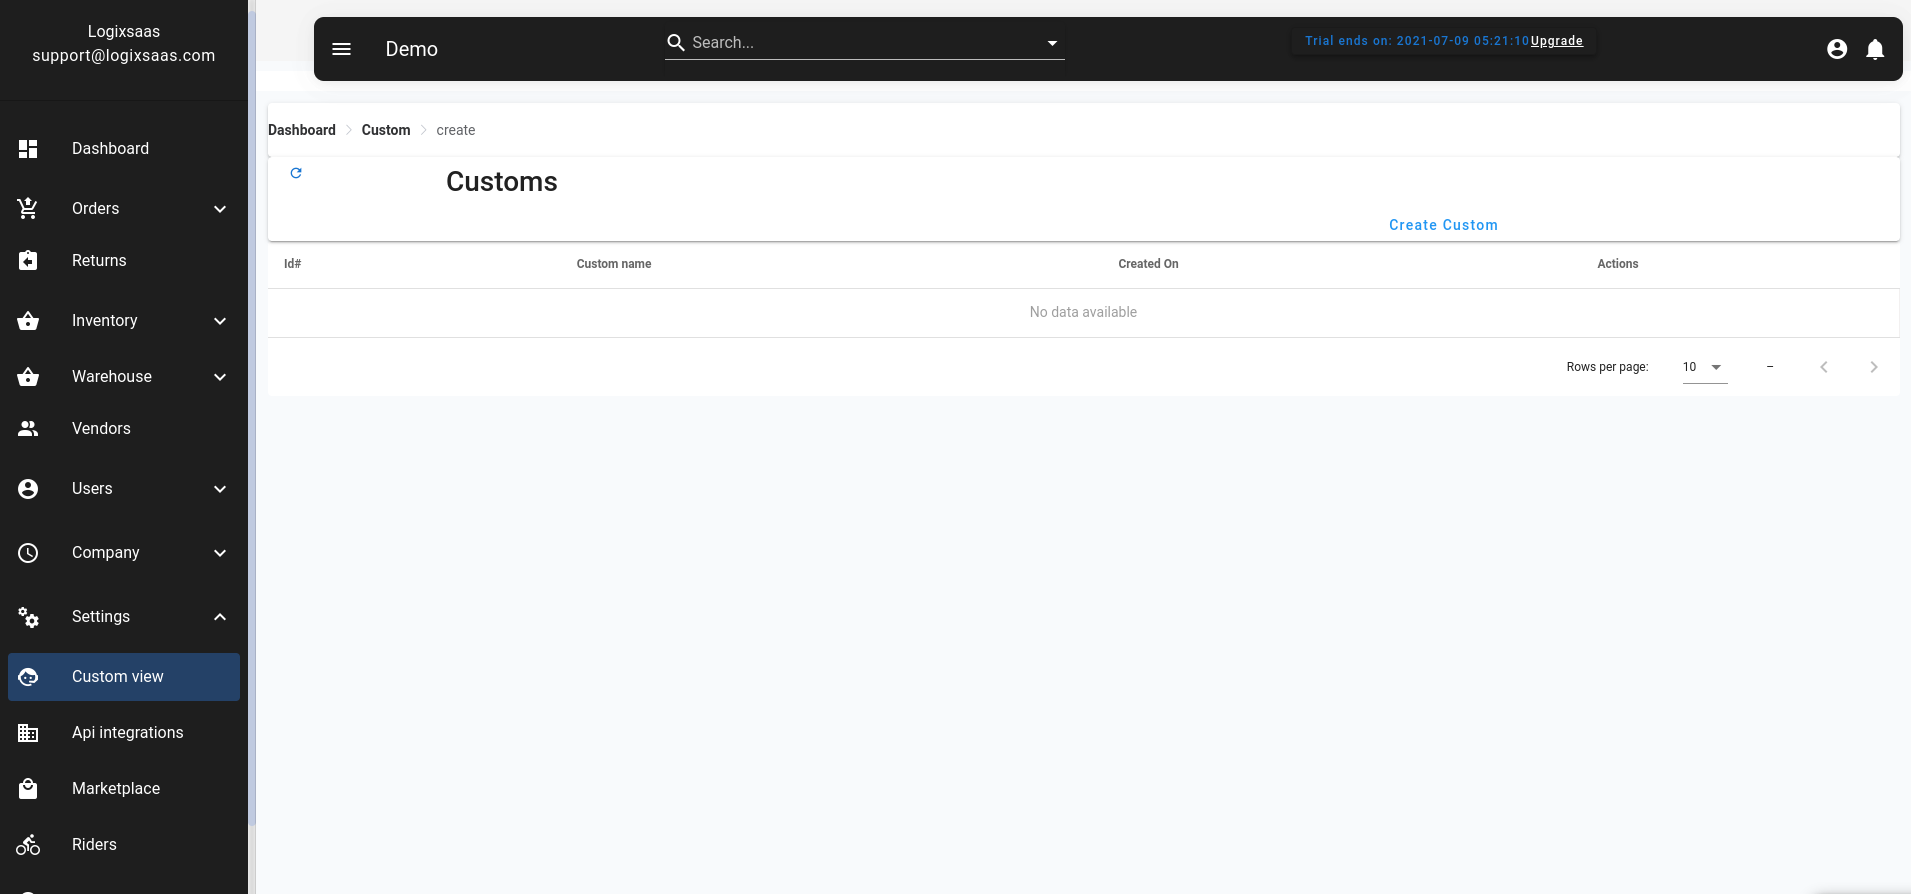
Create a custom view
- Click Create Custom
- You will be redirected to a new page
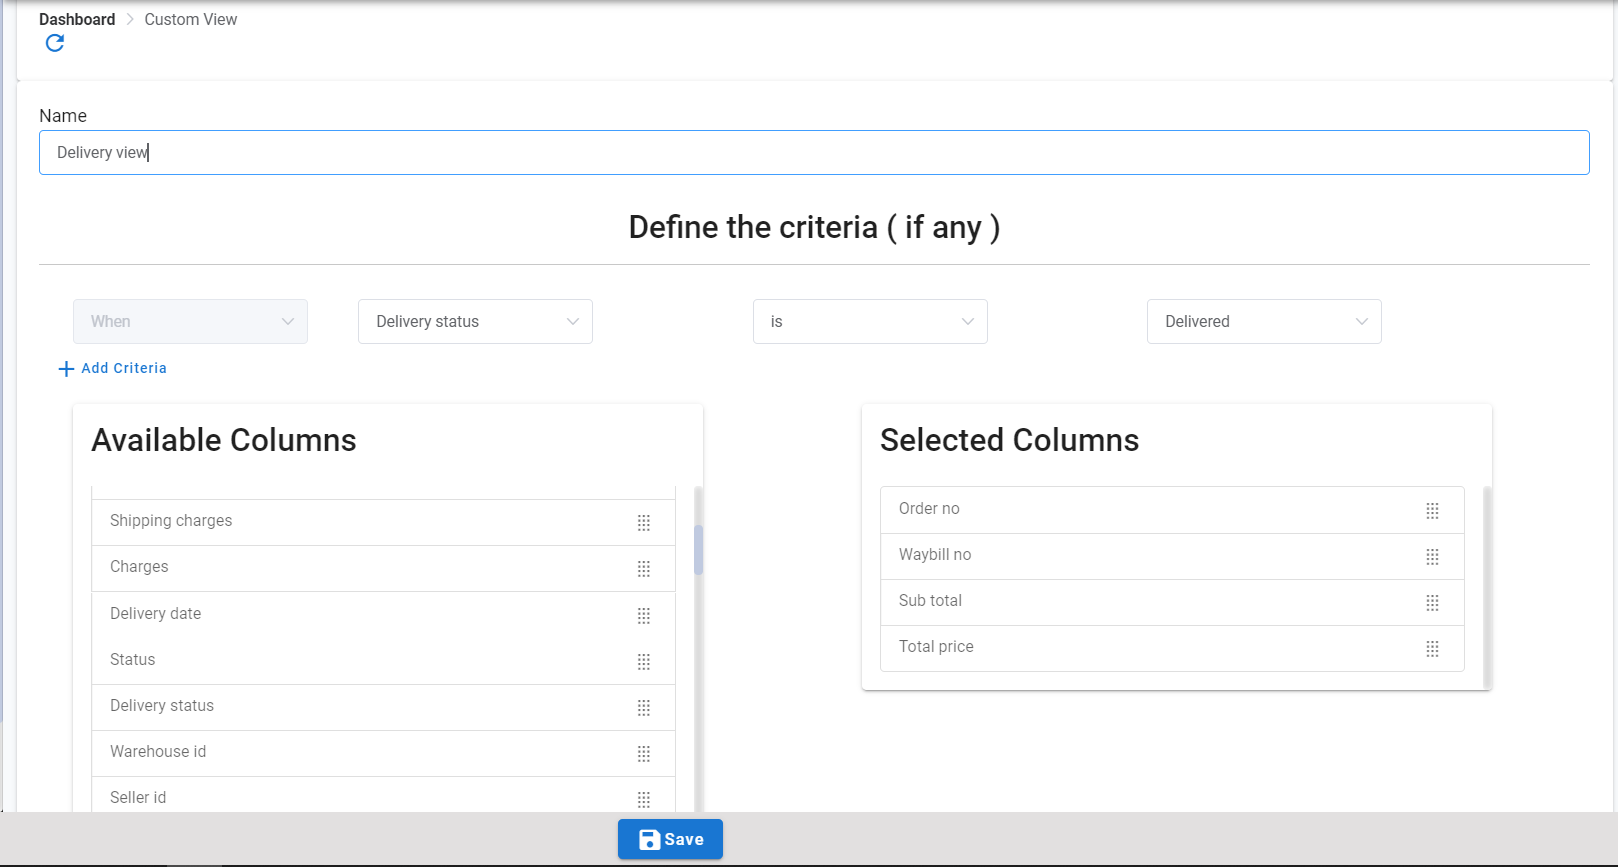
- Enter a name for the view
- Define the criteria. This is where you define the filters. (e.g if you only want someone to only view delivered orders you can define the criteria as, `When` `Delivery status` `is` `Delivered`)
- You can add more criterias.
- Then drag and drop the columns you want displayed from Available Columns to Selected Columns
- Then save
- After you save, you can now select the filter from the order page
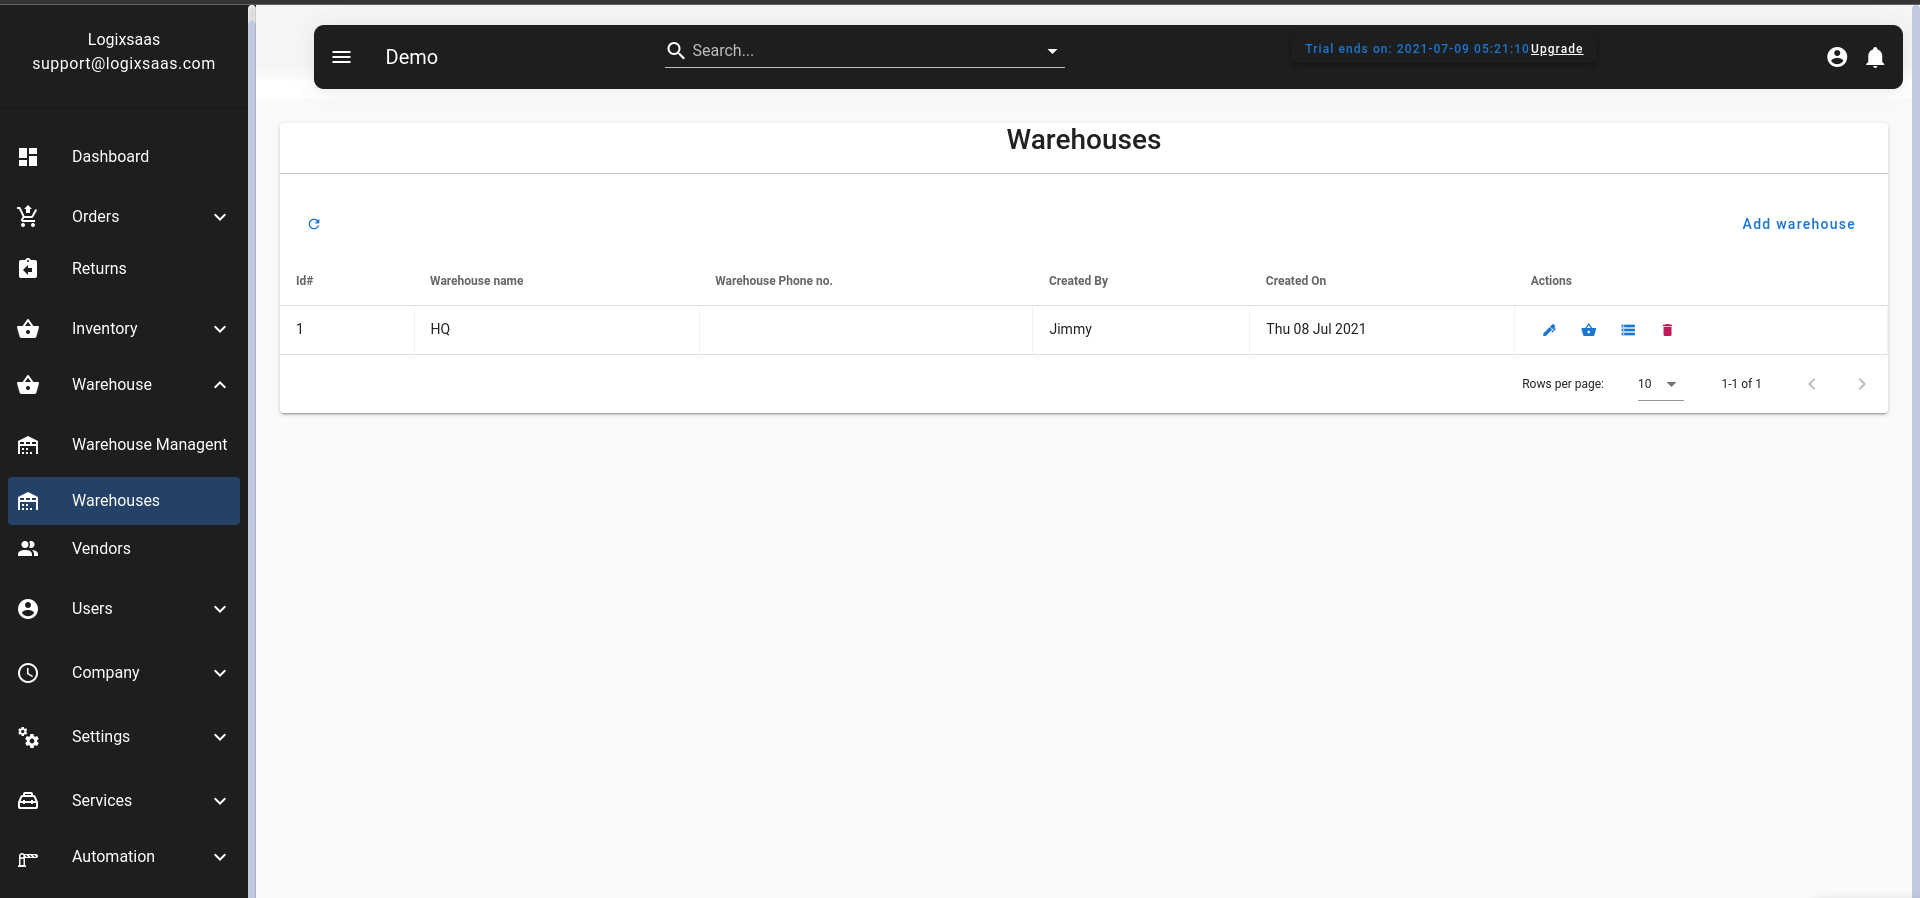
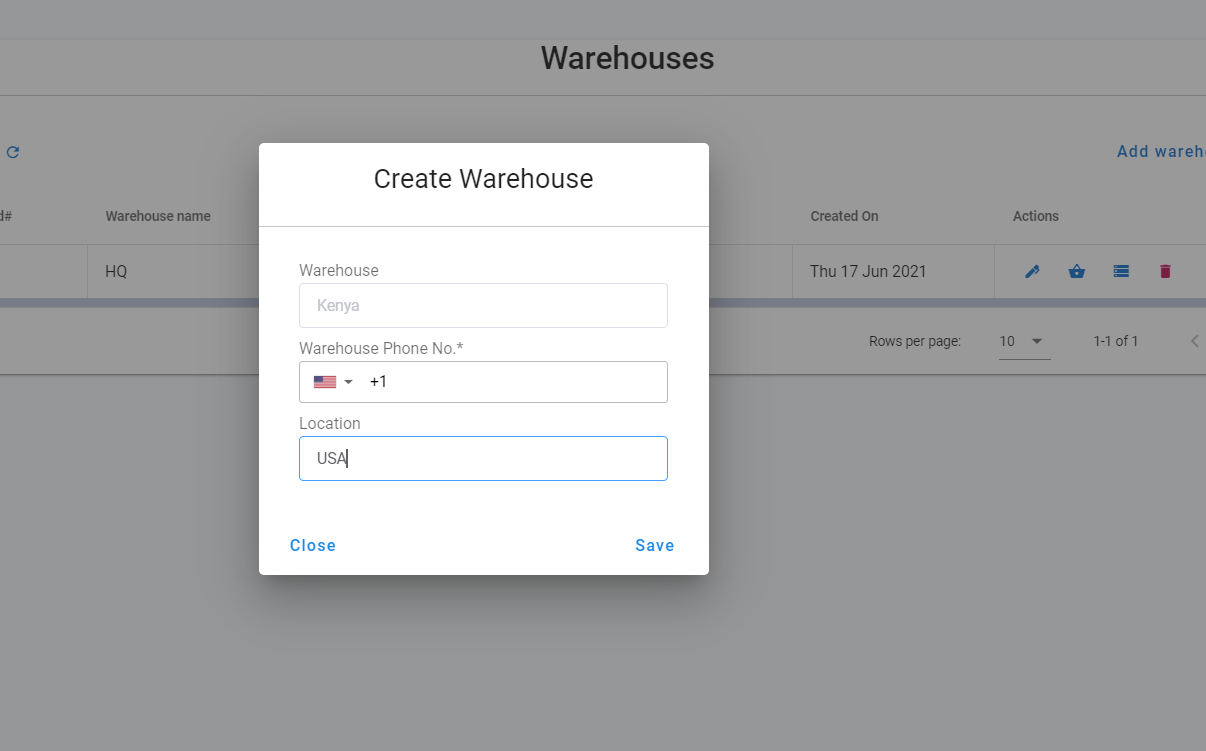
Warehouse
This is where you setup your warehouse
- Go to Settings>Warehouse
- You can view, Create or edit the warehouse
Riders
This is where you setup your riders
- Go to Settings>Rider
- You can view, Create or edit the Riders
Status
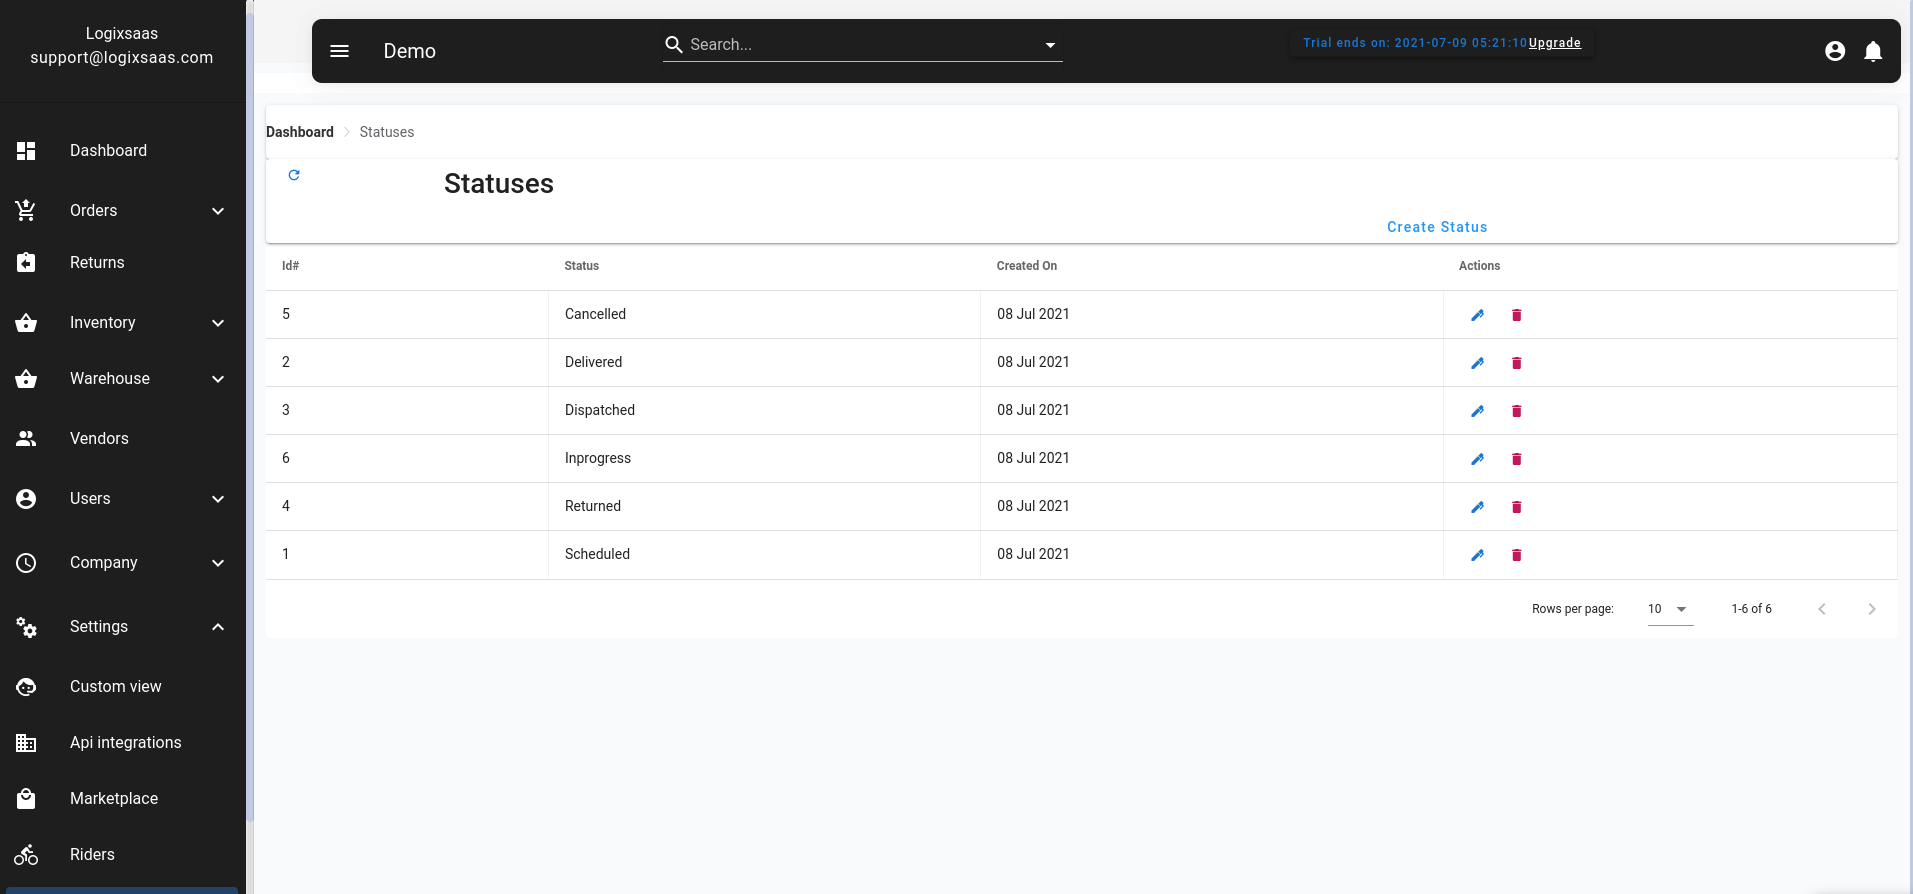
This is where you setup your custom order status
- Go to Settings>Rider
- You can view, Create or edit the Status
Services
This is where you define the services you offer, define the charges and define when the charges should be applied.
Zones
This are the zones/cities where you do you fulfillment. You can define as many zones as you want and make one to be the default zone.
Automations
Automation allows you to create a set of rules for modules of Logixsaas based on which appropriate actions would be performed. A good example would be the case where an e-mail/sms is sent automatically to the customer when a Sales Order is scheduled.
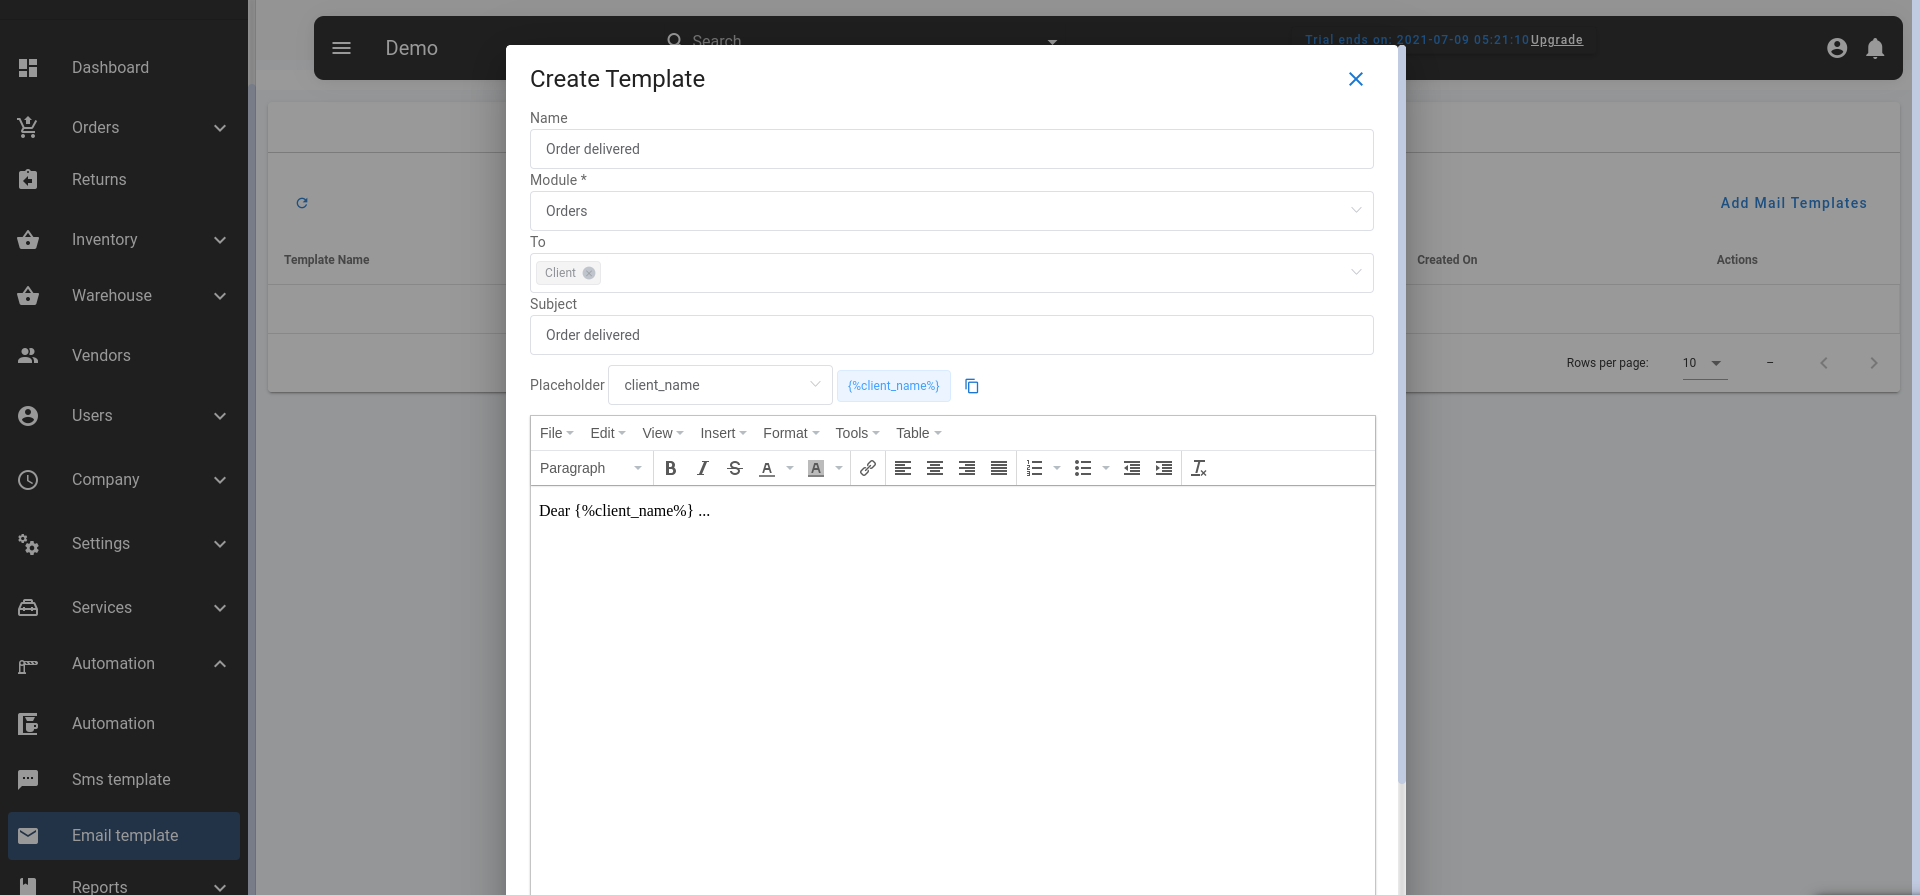
Setting up a new email template
Go to Automation>Email template
Click Add mail template
Fill the form
Create a template from the Editor and save
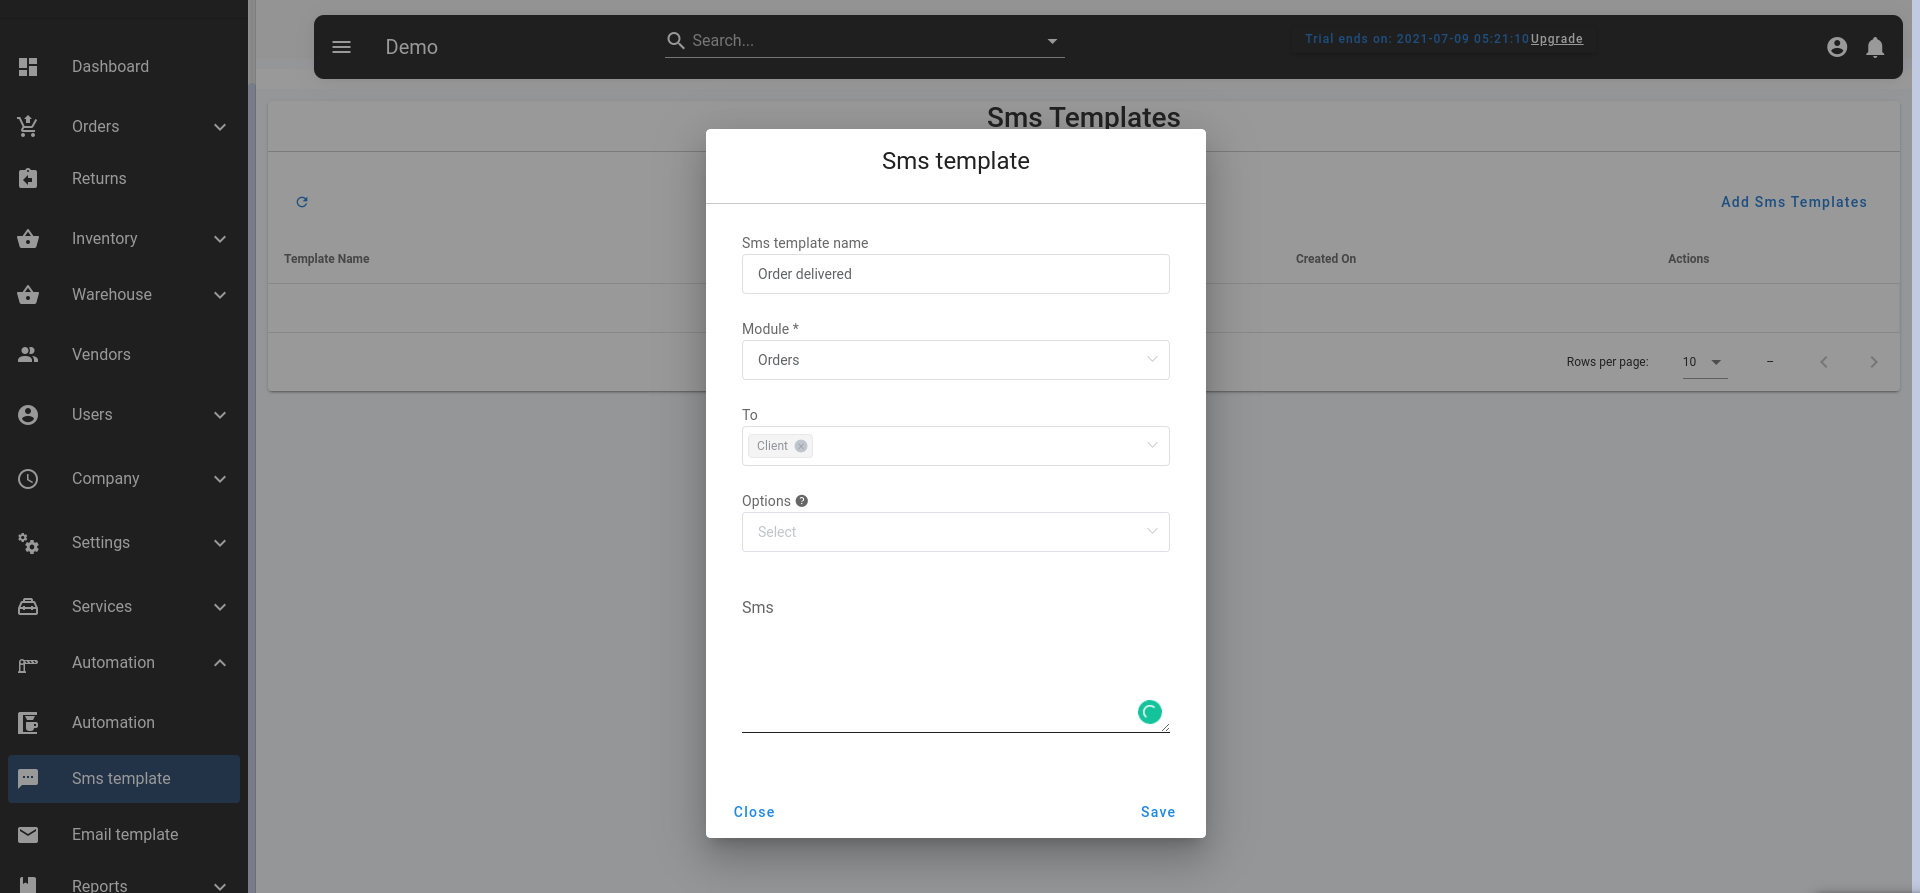
Setting up a new sms template
Go to Automation>SMS template
Click Add mail template
Fill the form
Create a template from the textarea and save
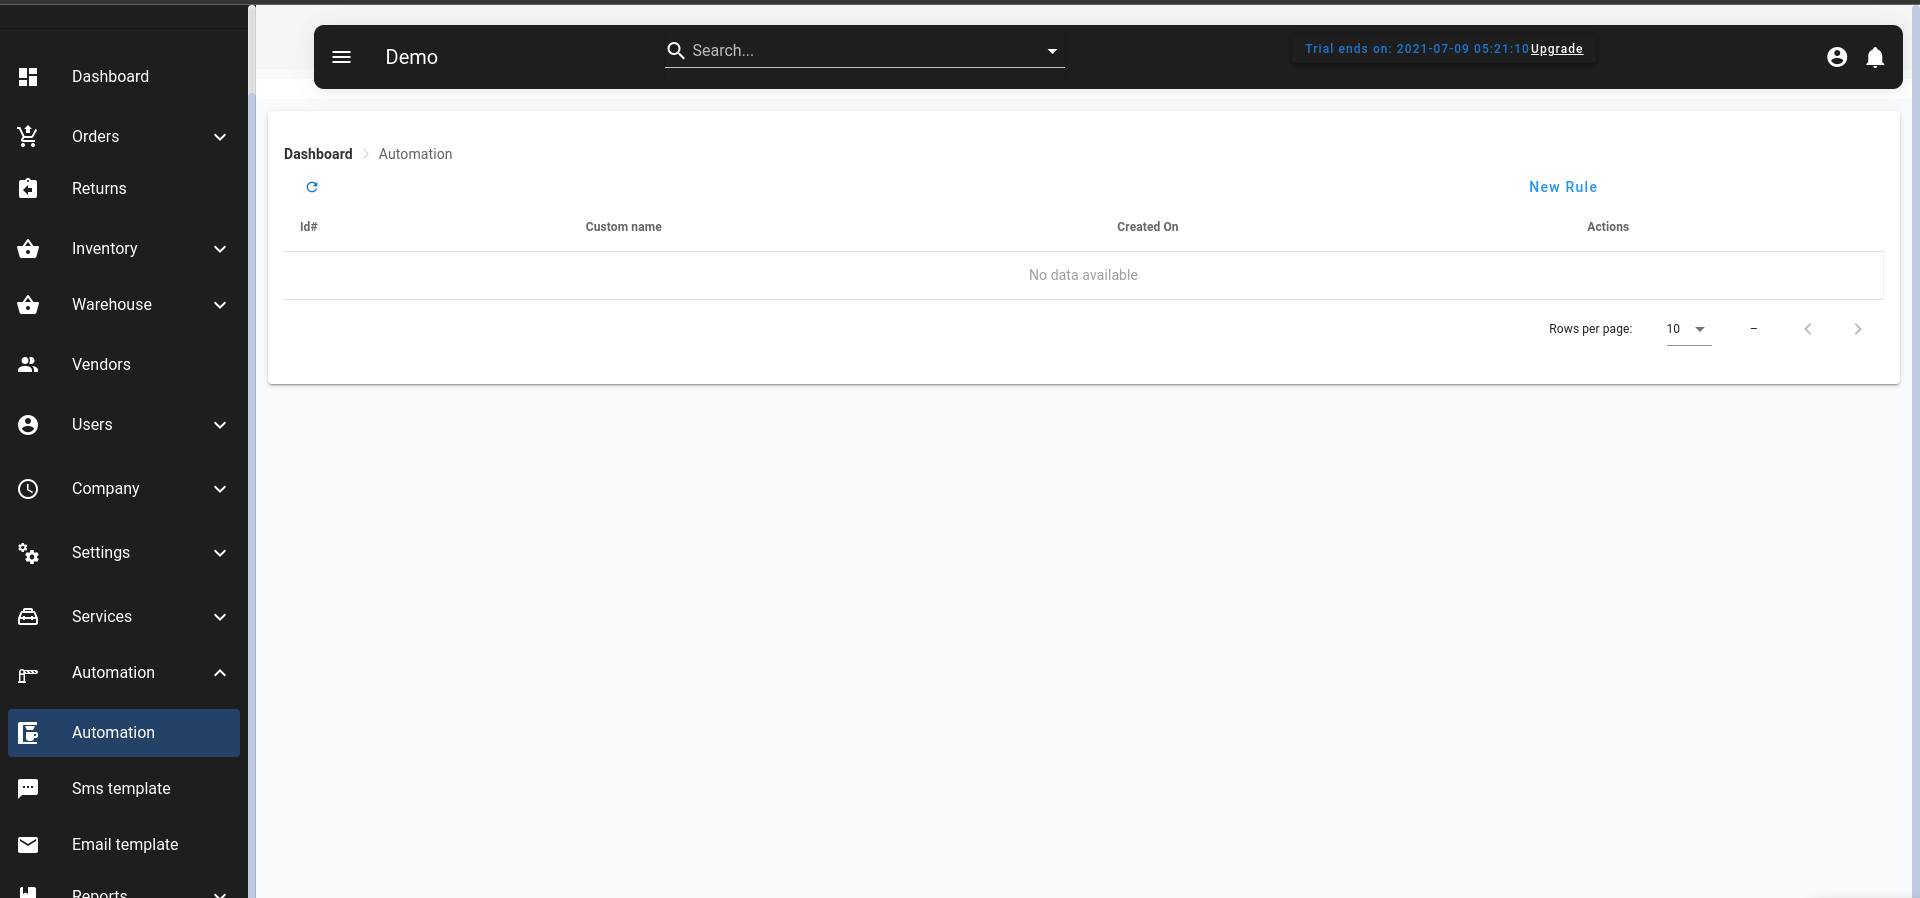
Automation
Go to Automation>Automation
- Click Create Automate
- You will be redirected to a new page
- Enter the name and choose the module
- Choose when the action will be performed from the radio boxes
- Define the criteria. This is where you define the filters. (e.g if you only want someone to only view delivered orders you can define the criteria as, `When` `Delivery status` `is` `Scheduled`)
- You can add more criterias.
- Choose the action to be performed when the criterias are met
- Then save